
Image Source: i.ytimg.com
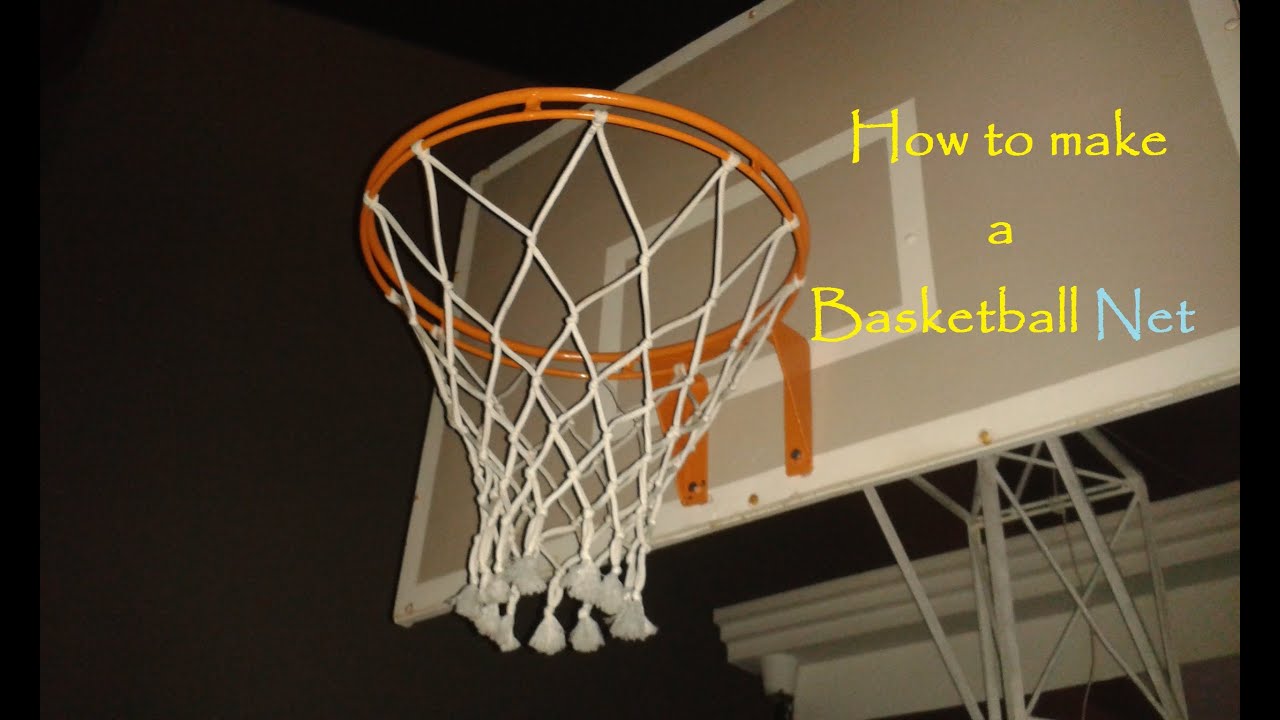
How Do You Make a Basketball Net: DIY Guide
Can you make a basketball net yourself? Yes, absolutely! Making your own basketball net is a fun and rewarding DIY project, perfect for anyone who wants a custom look or needs a quick replacement.
Creating your own basketball net, often referred to as a DIY basketball net or homemade basketball net, can be a surprisingly straightforward and satisfying endeavor. Whether your old net has seen better days and requires basketball net repair, or you’re looking for a fresh basketball hoop net replacement, this guide will walk you through the entire process. We’ll cover everything from selecting the right basketball net materials to the final step of installing a basketball net. Let’s dive into the best way to make a basketball net and get your hoop game ready!
Why Make Your Own Basketball Net?
There are many reasons to consider making your own basketball net. Perhaps you’ve always wanted to learn how to tie a basketball net, or maybe you’re looking for a more budget-friendly option than buying a new one. Sometimes, standard nets just don’t fit your aesthetic, and a custom creation allows for personalization. Plus, it’s a great way to reuse materials or create a more durable net than what’s commercially available.
Gathering Your Basketball Net Materials
The foundation of a good DIY basketball net lies in choosing the right materials. You’ll need to consider durability, weather resistance, and how the net will look and feel.
Essential Materials:
- Cordage/Yarn: This is the most critical component. You have several choices:
- Nylon Cord: Very strong, durable, and weather-resistant. It’s a popular choice for outdoor hoops. Look for UV-resistant varieties if your hoop will be exposed to direct sunlight. Thickness can vary; around 1/8 inch (3mm) to 3/16 inch (5mm) is a good range.
- Polypropylene Rope: Also durable and weather-resistant, often less expensive than nylon. It can be a bit stiffer.
- Thick Cotton Yarn: Suitable for indoor use or for a more traditional, softer feel. It won’t hold up well outdoors.
- Paracord: Extremely strong and readily available. Its woven structure can create a unique look.
- Measuring Tape: To ensure consistent spacing and net length.
- Scissors: Sharp scissors are crucial for clean cuts.
- Crochet Hook or Large Needle: This is essential for stringing a basketball net. The size will depend on the thickness of your cordage. A hook that’s slightly larger than your cord is ideal.
- Safety Pins or Clips: To hold your work in progress and prevent unraveling.
- Pattern or Template (Optional): You can find patterns online or draw your own. This helps maintain uniform spacing between the loops.
Optional Materials for Customization:
- Dye: To color your net if you’re using natural fibers or want a specific color.
- Weatherproofing Sealant: For cotton yarn if you plan to use it outdoors (though nylon or poly is still better).
Deciphering the Design: Hoop Measurements
Before you start stringing a basketball net, you need to know the dimensions of your basketball hoop. Standard hoops have specific rim diameters.
- Rim Diameter: Most regulation basketball hoops have a 18-inch (45.7 cm) inner diameter. However, recreational hoops can vary. Measure your rim carefully to ensure your net will fit snugly.
- Number of Attachment Points: Count the number of hooks or loops around the rim where the net attaches. This is typically 12, but can vary. This number will dictate how many loops your net needs at the top.
Step-by-Step Guide to Making Your Basketball Net
Let’s break down the process of creating your homemade basketball net.
Step 1: Preparing Your Materials
- Measure and Cut Your Cordage: The amount of cordage you’ll need can be surprising. A general rule of thumb is to multiply the total length of cord you’ll use by at least 3 or 4 to account for knots and the weaving process. For a standard net, you might need anywhere from 100 to 200 feet (30-60 meters) of cord. It’s better to have too much than too little. Cut your cord into manageable lengths. If you’re using multiple colors, plan your lengths accordingly.
- Prepare Your Crochet Hook/Needle: Ensure your hook or needle is the right size for your chosen cordage.
Step 2: Starting the Top Row (Attaching to the Rim)
This is where how to tie a basketball net comes into play. You’ll be creating a series of loops that attach to the rim hooks.
- Secure the First Loop: Take one piece of cord. Fold it in half to create a loop. Place the folded end under one of the rim hooks. Bring the two ends of the cord through the loop and pull them tight. This creates a slip knot around the hook.
- Forming the First Net Loop: Now, you’ll create the first actual net loop.
- Take another piece of cord.
- Thread your crochet hook or needle through the first loop you just made.
- Hook the new piece of cord with your hook.
- Pull the cord halfway through the first loop. You’ll now have a loop sticking out.
- Take the two ends of the cord you just pulled through and pass them through the loop that’s hanging from your hook.
- Pull tight to form a crochet-like knot. This is your first row of net.
- Spacing and Repeating: Continue this process for each attachment point on your rim. You want to maintain a consistent space between each attachment loop to ensure the net hangs evenly. Use your measuring tape to keep the spacing consistent. Aim for approximately 1 to 1.5 inches (2.5 to 3.8 cm) between the attachment points.
Step 3: Building the Net Body (Row by Row)
Once the top row is complete, you’ll start building the net downwards. This involves creating the characteristic diamond or square pattern of a basketball net.
- Creating the Next Row: For each loop in the row above, you will create a new loop below it.
- Insert your crochet hook into the center of a loop from the previous row.
- Hook the next piece of cord.
- Pull it halfway through.
- Take the two ends and pull them through the loop on your hook, then tighten.
- Maintaining Pattern and Tension: The key here is consistency.
- Tension: Keep the tension of your cord relatively even. Too loose, and the net will be saggy; too tight, and it might not have enough drape.
- Spacing: Ensure you’re working into the correct loop from the previous row. Most nets create a staggered pattern. You might skip a loop, then attach to the next, creating a diamond effect. Experiment with your pattern to achieve the look you want.
- Net Length: Continue adding rows until your net reaches the desired length. A typical basketball net is about 15-20 inches (38-50 cm) long from the rim.
Step 4: Securing the Bottom of the Net
The bottom of the net usually has an open, flowing end. You don’t need to tie off individual loops as you might think.
- Finishing the Last Row: After completing your final row, you’ll typically just tie off the very last loop securely.
- Trimming Excess: Trim any significant excess cord, leaving a few inches for good measure. You can also tie off each end of the cord from the last row individually to the loop next to it for extra security, but it’s usually not necessary if your tension was good throughout.
Attaching Your New Net
Now that you’ve mastered how to tie a basketball net and have successfully created your DIY basketball net, it’s time for installing a basketball net. This is the reverse of how you started attaching the top row.
- Remove the Old Net: If you are replacing a basketball net, carefully remove the old one.
- Attach the New Net: Simply hook the loops you created at the top of your new net onto the corresponding hooks on the basketball rim. Ensure each loop is securely in place.
Troubleshooting and Basketball Net Repair
Even with the best intentions, sometimes a DIY project needs a little tweak.
Common Issues:
- Uneven Spacing: If your net looks lopsided, you might have had inconsistent spacing between loops. This is often fixable by gently pulling and adjusting the tension.
- Net Too Short/Long: If it’s too short, you’ll need to start over or add more rows if you have extra cord. If it’s too long, you can carefully cut and re-tie the bottom sections.
- Cord Snapping: This usually indicates the cord was too thin or not strong enough for the tension. Using thicker, stronger cordage next time will help.
Basic Basketball Net Repair:
If a section of your net breaks or a loop comes undone, you can often perform basketball net repair without making a whole new net.
- Identify the Damaged Area: Find the broken loop or frayed section.
- Re-tie or Replace: Use your crochet hook and a new piece of cord to re-tie the broken loop or create a new one, connecting it to the adjacent loops to maintain the net’s structure. You might need to weave the new cord through a few existing loops to secure it properly.
Advanced Techniques and Customization
Want to take your homemade basketball net to the next level?
Customizing Your Net:
- Colors: Use different colored cords to create stripes or patterns.
- Thickness: Experiment with thicker or thinner cords for different looks and feels.
- Knot Types: While the basic crochet knot is standard, advanced crafters might explore decorative knots for added style.
Alternative Methods for Stringing a Basketball Net:
While the crochet hook method is common, some people prefer using their fingers or specialized knotting tools. The principle remains the same: creating a series of interconnected loops.
Durability and Maintenance
Your DIY basketball net can last a long time with proper care.
- Weather Protection: If your hoop is outdoors, nylon or polypropylene is essential. Even then, prolonged exposure to harsh sun and rain can degrade the material.
- Cleaning: Periodically brush off dirt and debris. You can wash the net with mild soap and water if needed, but ensure it dries completely before use.
- Inspection: Regularly check for signs of wear and tear, especially around the attachment points and the bottom of the net. Address any minor issues promptly to prevent them from becoming major basketball net repair jobs.
When to Consider a Professional Replacement
While DIY is rewarding, there are times when purchasing a pre-made net or seeking professional basketball hoop net replacement might be more practical:
- Time Constraints: If you’re short on time for a project.
- Lack of Materials: If you can’t easily source the specific materials you need.
- Extensive Damage: If your existing net is severely damaged and beyond simple basketball net repair, a new one might be more efficient.
However, for most situations, learning how to make a basketball net yourself is an achievable and fun goal.
Conclusion: Reaching the Hoop with Your Handmade Net
Making your own basketball net is a fantastic way to engage with the sport, save money, and add a personal touch to your game. By carefully selecting your basketball net materials, paying attention to detail during the stringing a basketball net process, and knowing the basics of installing a basketball net, you can create a durable and attractive net that will enhance your shooting experience. So grab your cord, your hook, and get ready to tie a basketball net that’s truly your own!
Frequently Asked Questions (FAQ)
Q1: What is the best material for a basketball net?
The best material for an outdoor basketball net is typically nylon or polypropylene due to their durability and weather resistance. For indoor use, cotton yarn can also work.
Q2: Can I use paracord to make a basketball net?
Yes, paracord is a strong and durable option for making a basketball net, especially for outdoor use.
Q3: How long should a basketball net be?
A standard basketball net is usually between 15 to 20 inches (38-50 cm) long from the rim attachment point.
Q4: How many attachment points are there on a basketball rim?
Most basketball rims have 12 attachment points, though this can vary on some recreational hoops.
Q5: What tools do I need to make a basketball net?
You’ll need measuring tape, sharp scissors, and a crochet hook or large needle that matches the thickness of your cordage.
Q6: How do I repair a broken basketball net?
To repair a basketball net, identify the broken loop. Use a crochet hook and a new piece of cord to re-tie the loop or create a new one, securing it to adjacent loops.
Q7: Is it cheaper to make a basketball net than to buy one?
Often, yes. If you have some materials on hand or can buy them in bulk, making your own can be more cost-effective, especially if you need multiple replacements.
Q8: How do I ensure my homemade net fits the rim properly?
Measure your rim’s diameter and count the number of attachment points. When creating the top row of your net, ensure your loops are spaced correctly to match the rim’s hooks.